Tag: styling tips

  • Packing a Disappeared-for-a-Bit Trip in One Carry-On

    Packing a Disappeared-for-a-Bit Trip in One Carry-On

    You know the trip. You go quiet for a few days, the stories stop, and then the camera-roll dump arrives and everyone asks where you got that coat. The fit works because you planned it, not because you packed everything you own.

    Here’s how to do it with one carry-on and nothing left unworn at the bottom of the bag.

    Pick three colors and stay in them

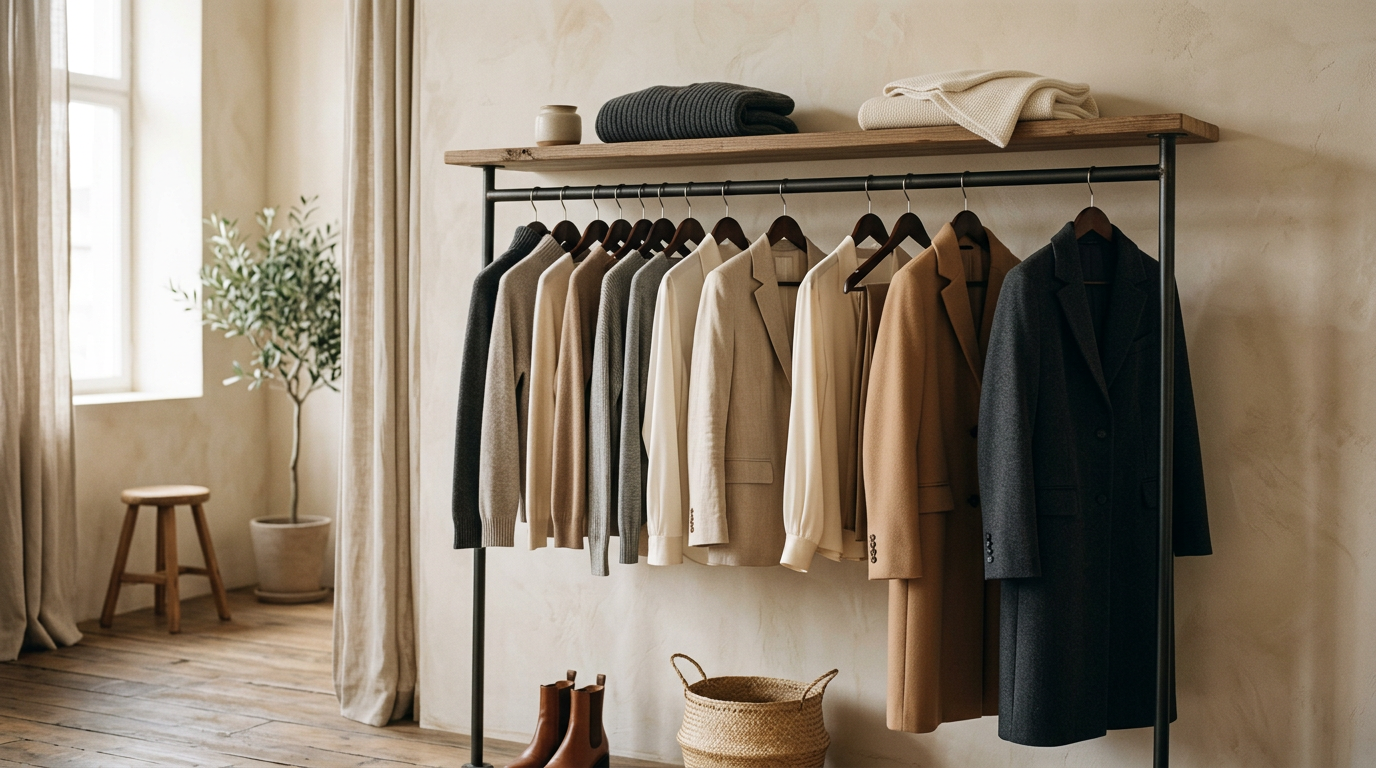
    Three colors is the whole system. Two neutrals plus one that feels like you. Think cream, charcoal, and a dusty pink, or whatever sits closest to your own camera roll.

    Everything gets to talk to everything else. A pink knit works with the charcoal trousers and the cream skirt, so you never get stuck with a top that only works in one outfit. It also makes your photos look cohesive without trying, which is lowkey the best part.

    Texture is how you keep a tight palette from going flat. Mix a ribbed knit, a crisp cotton, something with a little drape. Same colors, different surfaces, and the edit does the talking.

    One layering piece, chosen carefully

    You get one. It has to handle a cold airport, an evening out, and a breezy morning walk, so choose something with real structure: an unlined coat, a clean trench, a tailored topper in one of your three colors.

    Wear it on the plane. That’s free space in your bag and the most reliable way to keep a structured piece from getting crushed in transit.

    One shoe that does double duty

    Same rule, higher stakes, because shoes are the heaviest thing in your bag. You want a pair that survives cobblestones at 10 a.m. and still looks right at a dinner reservation. A low, sleek leather loafer or a minimal sneaker in a neutral tone usually does it.

    The test is simple. Put it on with your most casual outfit, then with your dressiest. If it only works in one, it stays home. Wear this one on the plane too.

    Plan combinations, not outfits

    Outfits are rigid. Combinations are math in your favor. Here’s a sample capsule for a long weekend to a week:

    • Four tops: two easy tees or tanks, one fine knit, one crisp button-up
    • Two bottoms: tailored trousers and a skirt or relaxed denim
    • One dress that works alone or under your layer
    • One layering piece (worn on the plane)
    • One shoe (also worn on the plane)
    • A small bag, a belt, and one piece of jewelry that makes everything look intentional

    Four tops and two bottoms already give you eight different looks before you count the dress or the layer. That’s more outfits than most trips need.

    The rule that keeps nothing unworn: every piece has to appear in at least two combinations. If something only works one way, it’s out. No “just in case” items.

    Fold, roll, and protect

    How you pack matters as much as what you pack, especially with knitwear and anything structured.

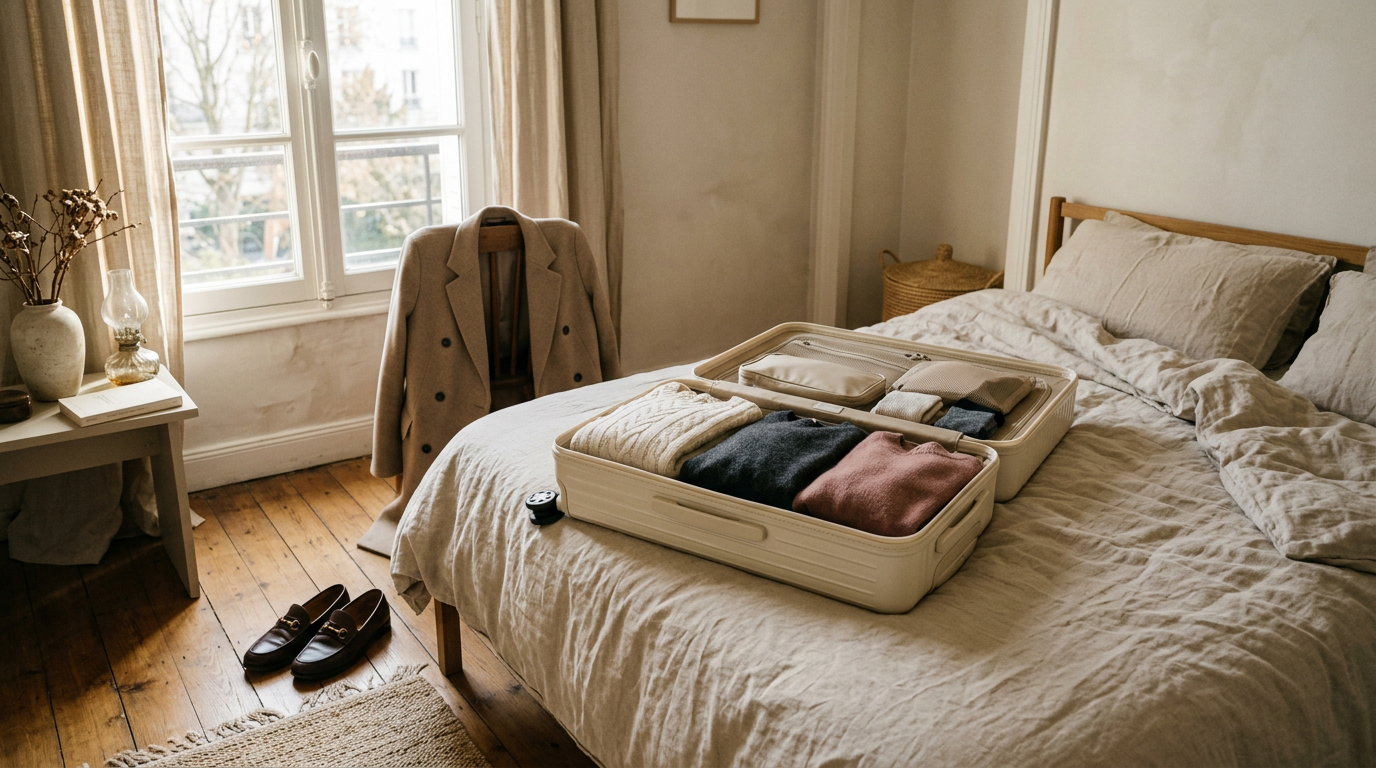
    Knitwear: Fold it flat and don’t roll it. Rolling can stretch the fibers and leave a crimp that’s annoying to fix. Lay it on top of the stack, or put a sheet of tissue paper or a thin cotton layer between the knit and everything else so it doesn’t snag on zippers or buttons.

    Structured pieces: Tailored trousers, a crisp shirt, or a blazer-style item should be folded as few times as possible. Fold trousers along the natural crease and drape them over the edge of the bag, then fold the rest over them. For shirts, button them up and fold the sleeves behind the back so the collar keeps its shape.

    Soft basics: Tees, tanks, and jersey pieces are what rolling is for. They compress tightly, wrinkle less, and fill the gaps around the bulkier items.

    Dresses: Fold them in thirds, then place them between your flat layers. If the fabric is delicate, add a layer of tissue.

    Extras: Put anything you might need to grab quickly, like a charger or a small pouch, near the top. Keep jewelry in a pouch so it doesn’t tangle or scratch.

    Do the fit check before you zip

    Lay out your capsule at home and run through every combination. Photograph the ones you love. That’s your OOTD plan, built in advance and saved in a folder, so on the trip there’s no deciding. It’s closer to a GRWM that’s already done.

    If a piece didn’t make it into a single photo, take it out. If you’re unsure about a combination, cut it. Better to leave space than to carry doubt.

    What you’re really packing

    You’re not packing for every possibility. You’re packing for the version of the trip you actually want, which is mostly walking, eating, and getting good photos. Three colors, one layer, one shoe, and a handful of combinations is enough to cover all of it.

    Then you disappear for a bit, with a bag light enough to lift into the overhead bin yourself. The edit is everything.
  • From Screenshot to Shopping List: Turning Your Inspo Folder Into Outfits You Can Actually Wear

    From Screenshot to Shopping List: Turning Your Inspo Folder Into Outfits You Can Actually Wear

    You save aggressively. You buy selectively. Somewhere between those two habits is a folder with hundreds of screenshots and a closet that still feels like it’s missing something.

    The folder isn’t the problem. It’s data. Most of us just scroll it for vibes instead of reading it for information. Here’s how to read it.

    Scroll it like someone else made it

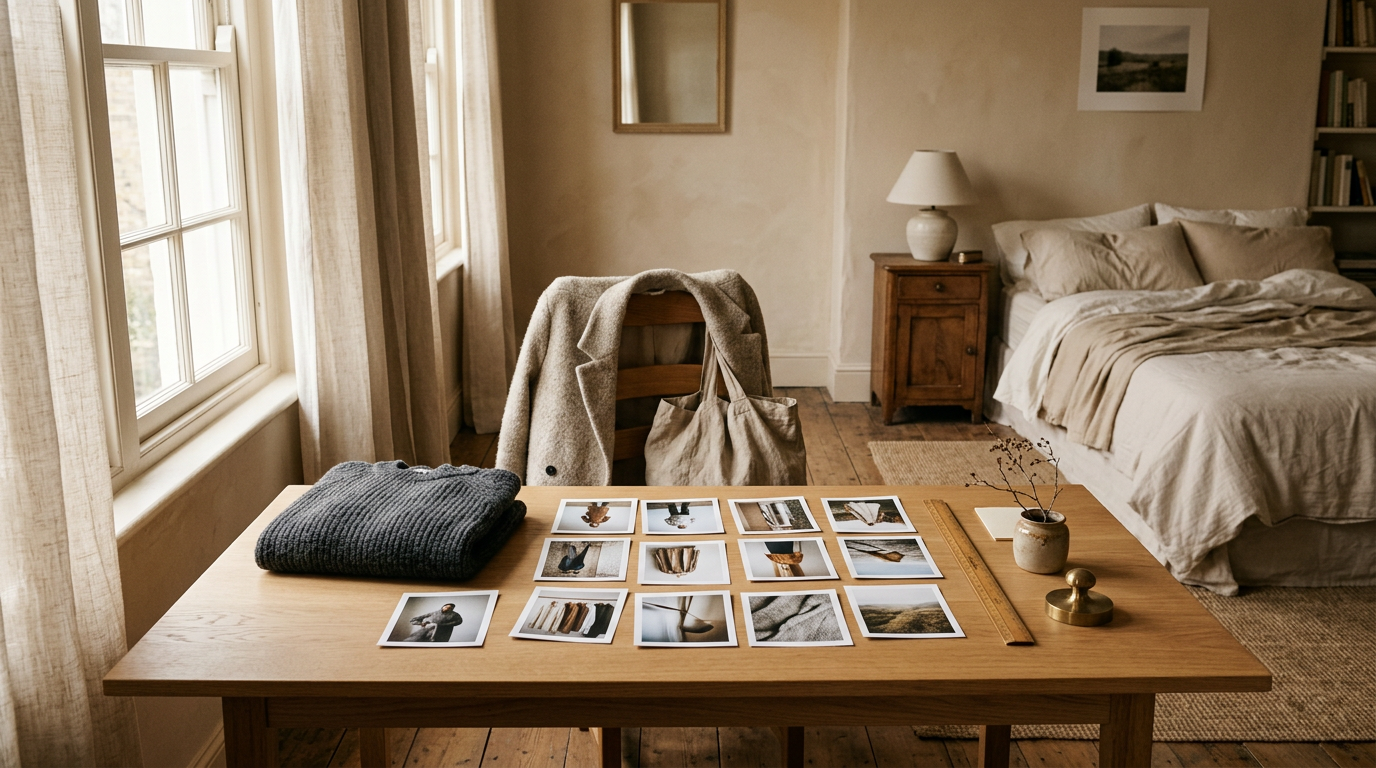
    Set aside twenty minutes. Open the folder and go through it fast, without zooming in on any single image. You’re not choosing outfits yet. You’re noticing what your thumb keeps stopping on.

    Fast scrolling helps because your taste shows up in repetition, not in any one save. The one-off screenshot from a trip you took is a mood. The fourteenth image of a long coat over a slip skirt is a pattern.

    Tally what repeats

    Grab a notes app or an actual piece of paper. As you scroll, make a mark every time one of these shows up:

    • Silhouette: Is the top boxy and the bottom narrow? Long and lean all the way down? Oversized on top, fitted below?
    • Color: Name the actual shades. “Neutral” is too vague. Think oatmeal, chocolate, charcoal, ivory, a certain washed-out blue.
    • Layering move: A collared shirt under knitwear. A slim tee under a slip dress. A belted coat over everything. A cropped jacket over something longer.
    • Texture: Brushed wool, crisp poplin, fine-gauge knit, leather that’s gone soft.
    • Proportion of the hem: Where does the outfit end? Ankle, mid-calf, hip, waist?

    Don’t overthink the counting. When you’re done, three or four things will have a lot more marks than the rest. Those are your real inspo, and everything else is background noise.

    Separate “I love this on her” from “I’d wear this”

    This is the step that saves your budget. A lot of what we save is admiration, not intention. Admiration is valid, but it doesn’t belong on a shopping list.

    Take your top repeating patterns and run each one through a few honest questions:

    Would I wear this on a regular Tuesday? Not at the best event of the year. On a normal day, with your commute, your bag, and your actual plans.

    Is it the outfit or the person? Sometimes the pull is the styling, the lighting, the setting, or the way she’s standing. If you take away the backdrop, do you still want the clothes?

    Do I already reach for something like it? If a silhouette shows up in your folder and also in your closet, you’re not missing it. You’re just not wearing it the way the screenshot does.

    Be ruthless here. Plenty of saves will turn out to be “love this on her,” and that’s fine. Leave them in the folder. They can stay inspo forever.

    Do a quick fit check on what you own

    Before you write anything down, pull up your closet next to your tally. Match what you already have to each pattern. If you keep saving a slim-over-oversized proportion, find the pieces you own that could do it.

    Often the gap isn’t a whole outfit. It’s one layer: the right third piece, a better-fitting trouser, or a color that ties two things together. That’s a much smaller (and more interesting) shopping problem than “I need a new wardrobe.”

    Write the gaps like a brief

    Now the list. Keep it to three to five items, and make each one specific enough that you’d recognize it in a heartbeat and ignore everything else.

    Compare these:

    “A jacket.” That’s a browsing session with no end.

    “A cropped, structured jacket in charcoal or black that sits at the waistband and works over a long skirt.” That’s a brief.

    A good gap has a silhouette, a color, a job, and ideally a fabric. Add one more line to each item: what three things I own it works with. If you can’t name three, it’s probably a one-outfit piece, and it moves to the bottom.

    Let the list slow you down

    The point of the list is not to buy five things this week. It’s to make the next purchase a decision instead of a reaction. When something catches your eye, you check it against the brief. If it fits, great. If it doesn’t, you save it and move on without the cart guilt.

    Saving is free, so keep doing it. Buying is where the edit happens.

    Audit again when the folder changes

    Your taste isn’t static, and your folder will show it. Run this audit at the start of each season, or any time you notice you’ve stopped opening the folder because it feels like noise. New patterns will show up. Old ones will fade. Both are useful.

    When you’re ready to turn a gap into an outfit, Enter The Edit. Bring your list. The edit is everything.

  • The Fit Check Checklist: Six Things to Look at Before You Leave the House

    The Fit Check Checklist: Six Things to Look at Before You Leave the House

    The GRWM is done. The outfit is on, the playlist is going, and you’re already a little late. This is the moment most people glance at their face, grab their keys, and go.

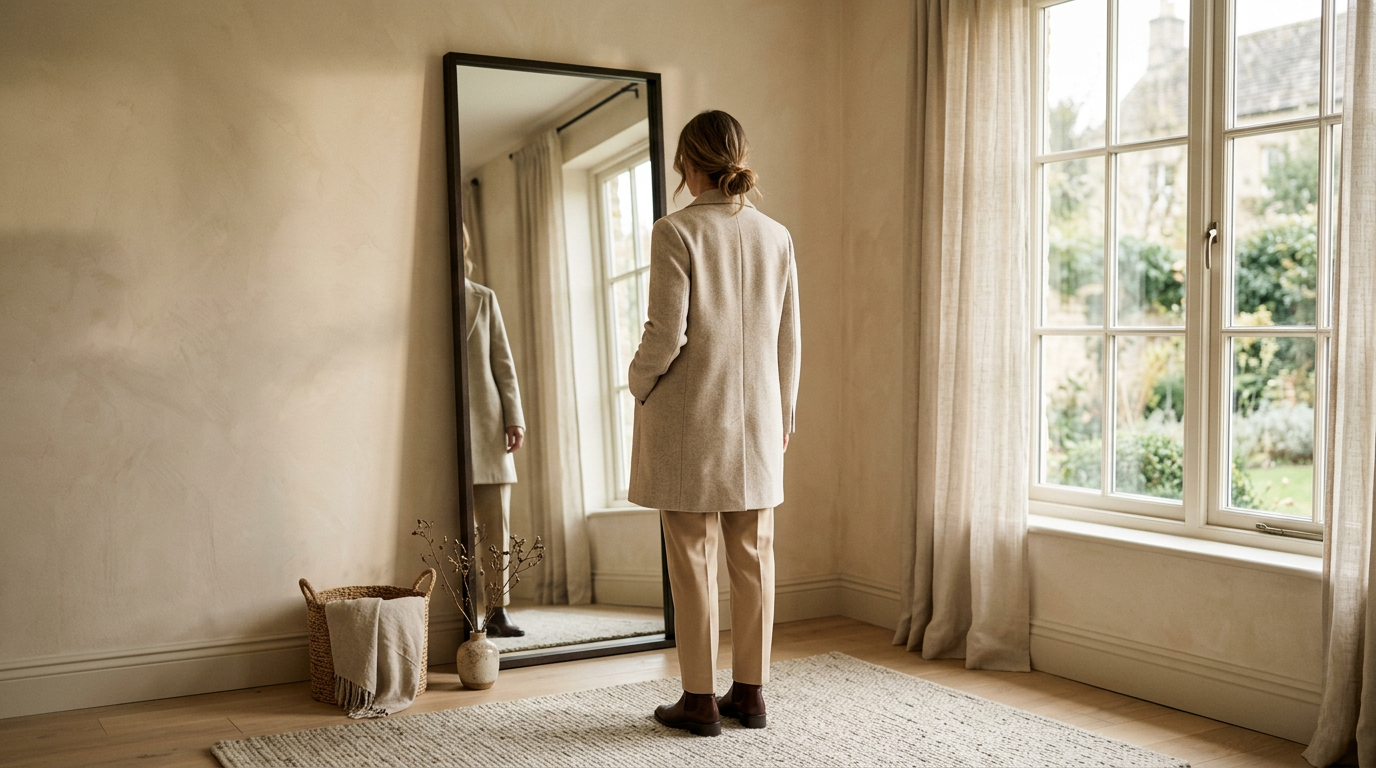
    Don’t. Give the mirror ninety more seconds. A proper fit check isn’t about fixing a bad outfit. It’s about catching the small stuff that turns a good outfit into one that looks intentional.

    Here’s the routine, in order.

    1. Start at the shoulders

    Look at where the shoulder seam lands. On a jacket, shirt, or knit with a set-in sleeve, it should sit right at the edge of your shoulder, where the arm begins.

    If it creeps toward your elbow, the piece reads as oversized. That’s great when you chose it and sloppy when you didn’t. The tell is whether the rest of the outfit agrees: a drop shoulder with a clean, narrow bottom half looks planned. A drop shoulder you didn’t mean to have just looks borrowed.

    If the seam sits up on top of your shoulder and pulls, the piece is too small through the frame. No styling trick fixes that.

    2. Check the hem

    Hems are where outfits quietly fall apart. Look at every one you have: trousers, skirt, dress, jacket, even the shirt under your sweater.

    For trousers, decide what the hem is doing. Cropped should clearly show the ankle, not hover awkwardly an inch above it. Full length should skim the top of your shoe, not drag under your heel. For skirts and dresses, check the length sitting down too, since that’s where most of your day happens.

    And look at the layers. A shirt hem peeking out from under a sweater is a lewk when it’s a few even inches. It’s a mistake when it’s lopsided.

    3. Walk, sit, reach

    Standing still in front of a mirror is the easiest test an outfit will ever take. So give it a harder one.

    Walk across the room and watch how the fabric moves. Good fabric swings and settles. Bad fabric clings, bunches, or rides up. Sit down and see what your waistband, hem, and neckline do. Lift your arms like you’re reaching for something on a high shelf and check whether the whole top comes with them.

    Also check the light. Step near a window and see if anything is more see-through than it looked under your bedroom lamp.

    4. Turn around

    You spend the whole day facing forward, but everyone else gets the back view. Use a second mirror or your phone camera and look at what’s behind you.

    You’re checking for pulling across the shoulder blades, a waistband that gapes, a bra line you didn’t plan on showing, a tag or loose thread, and pockets that sit too low or too wide. If the outfit only works from the front, it only half works.

    5. Look down at your shoes

    Proportion is the whole game here. Wide-leg trousers want a shoe with some presence, or the hem swallows your foot. A slim trouser can take something sleeker. A chunky sole under a delicate, floaty skirt can feel like two different outfits arguing.

    Step back far enough to see your whole body and ask whether your shoes look like they belong to the rest of the fit. Then check your socks, if they’re showing. They count.

    6. Take one thing off

    This is the step that makes the edit an edit. Before you walk out, find the loudest thing you’re wearing and remove it.

    Maybe it’s the third necklace, the extra belt, or the scarf you added at the last second because the outfit felt unfinished. Usually the outfit was already finished. If you take it off and miss it, put it back. But most of the time you won’t.

    How to take a fit check photo that tells the truth

    A photo shows you what a stranger sees, which is why it catches things the mirror forgives. It’s also very easy to make a photo lie, so keep it honest.

    Face a window for soft, even light. Overhead bulbs and a lamp behind you flatten fabric and hide texture. Put the phone at about hip to chest height, not above your head, and step back far enough that your shoes are in the frame. Cropping at the knee hides the exact proportion you’re trying to check.

    Skip portrait mode, beauty filters, and anything that stretches or smooths. Wipe the mirror if you’re using one. Then take three shots: front, back, and one mid-stride. The mid-stride shot is the most useful, because it shows how the outfit behaves when you’re actually moving.

    Look at the photo before you post it, or before you decide. If something bugs you in the picture, it will bug you at dinner.

    The screenshot version

    • Shoulders: does the seam land where you meant it to?
    • Hems: are trousers, skirt, and layers all clearly one length or the other?
    • Movement: walk, sit, reach. Does the fabric cooperate?
    • Back view: any pulling, gaping, or stray tags?
    • Shoes: do they match the weight of the hem?
    • Remove one thing: take off the loudest piece, then decide.

    That’s the whole routine. Once it’s habit, it takes less time than finding your keys. The edit is everything, and it starts at the mirror.

  • The 12-Piece Capsule: How to Edit Your Closet Without Feeling Like You Gave Things Up

    The 12-Piece Capsule: How to Edit Your Closet Without Feeling Like You Gave Things Up

    A capsule closet has a reputation problem. It sounds like a rule someone else made up: twelve pieces, one beige palette, zero fun. That’s not what we’re doing here.

    Think of it as a fit check for your entire closet. The goal is to wear more of what you already love and buy less of what you don’t. Nobody is confiscating your favorite jeans.

    One ground rule: twelve is a starting number, not a law. Shoes, bags, and jewelry sit outside it. We’re counting clothes only.

    Step 1: Pick a color lane

    Your lane is a small set of colors that all get along. It isn’t a uniform. It’s a home base.

    To find yours, scroll back through your last handful of OOTDs or saved fit pics. Whatever keeps showing up is your lane, whether or not you’d call it a “style.” Most lanes come down to:

    Two base neutrals that work together, like cream and charcoal, or camel and black. One in-between, like denim or olive. One accent that gives it personality, like dusty pink or rust.

    Every piece in the capsule should work with at least two others. That’s the whole test.

    And a lane doesn’t mean boring. Texture does the heavy lifting. A ribbed knit, a crisp poplin, and a heavy wool coat can share a palette and still read as three completely different moods.

    Step 2: Decide where the weight goes

    Not every category deserves equal space. Some pieces carry the capsule, and some are supporting cast. Here’s a split to start from:

    • Tops (3): Your workhorses. Think a clean tee, a crisp button-up, and one that feels a little more interesting.
    • Bottoms (3): Each one should work with every top. That’s what makes three bottoms and three tops into nine outfits.
    • Outerwear (2): One for most days, one with more attitude. This is what people see first.
    • Knitwear (2): One you’d live in, one you’d dress up.
    • Wildcards (2): A dress, a statement piece, or anything that’s your lewk on its own.

    Adjust it to your actual life. If you walk everywhere and layer year-round, give outerwear another slot. If you’re in an office or studio most days, lean harder on tops and bottoms.

    Put your best thinking into outerwear and knitwear. They’re visible, they get rewarn constantly, and fabric makes or breaks them. This is where texture and fit matter most.

    Step 3: Run the keep, maybe, let-go test

    Now the part everyone dreads. Go category by category, not the whole closet at once, because that’s how a Saturday disappears. Pick up each piece and decide.

    Keep. You’d wear it this week. It fits you now, not the version of you from two years ago or the one you’re planning to be. It sits comfortably in your lane. If you reach for it without thinking, it’s a keep.

    Maybe. You like it, but something’s off. Maybe the fit is close but not right, the color fights your lane, or you love it and have nowhere to wear it. Put every maybe in one bag or bin and write a date on it, a month or two out. If you haven’t gone digging for something by then, you have your answer.

    Let-go. It was bought for a version of you who didn’t show up. It needs a repair you’ve been avoiding for a year. It only works with one other thing. Or you feel guilty looking at it. Guilt isn’t a reason to keep anything.

    Let-go doesn’t have to mean landfill. Resell it, swap it with a friend, donate it, or finally take it to a tailor if it’s one fix away from a keep.

    Step 4: Count your keeps and name the gaps

    Lay your keeps out against the split above. You’ll probably find you’re over in one category (hello, fourteen black tops) and missing something in another.

    Write the gaps down. Don’t go buy them all at once. The point of an edit is that every piece earns its spot, and that takes a little patience.

    You already screenshot outfits from half a dozen accounts before buying anything, so use that habit. Look at your saves and see what keeps repeating: a particular coat shape, a certain trouser length, a knit that looks heavy and drapey. Then fill the one gap that would unlock the most outfits first.

    When you do buy, think about how it feels, not just how it photographs. Check the fabric, the weight, and how it moves. A piece you’ll wear forty times should feel good on the fortieth.

    Step 5: Fit check the whole thing

    Here’s how you know it works. Pick three outfits from your twelve and try them on. Take a photo of each, no filter and no overthinking.

    If you can build all three without reaching outside the capsule, you’re done. If you got stuck, that’s useful information. Note what was missing, and that’s your next buy.

    Expect to tweak it with the seasons. The capsule isn’t a permanent edit. Swap a knit for a lighter layer, move a coat to the back, bring your accent color forward. The framework stays, and the pieces rotate.

    Done right, you’ll feel less like you gave things up and more like you can finally see what you have. Getting dressed gets faster, and the pieces you kept get worn more.

    The edit is everything. Start with one category this weekend and see how it feels.