Category: Style Guides

  • Neutral Doesn’t Mean Boring: Building Depth With Texture

    Neutral Doesn’t Mean Boring: Building Depth With Texture

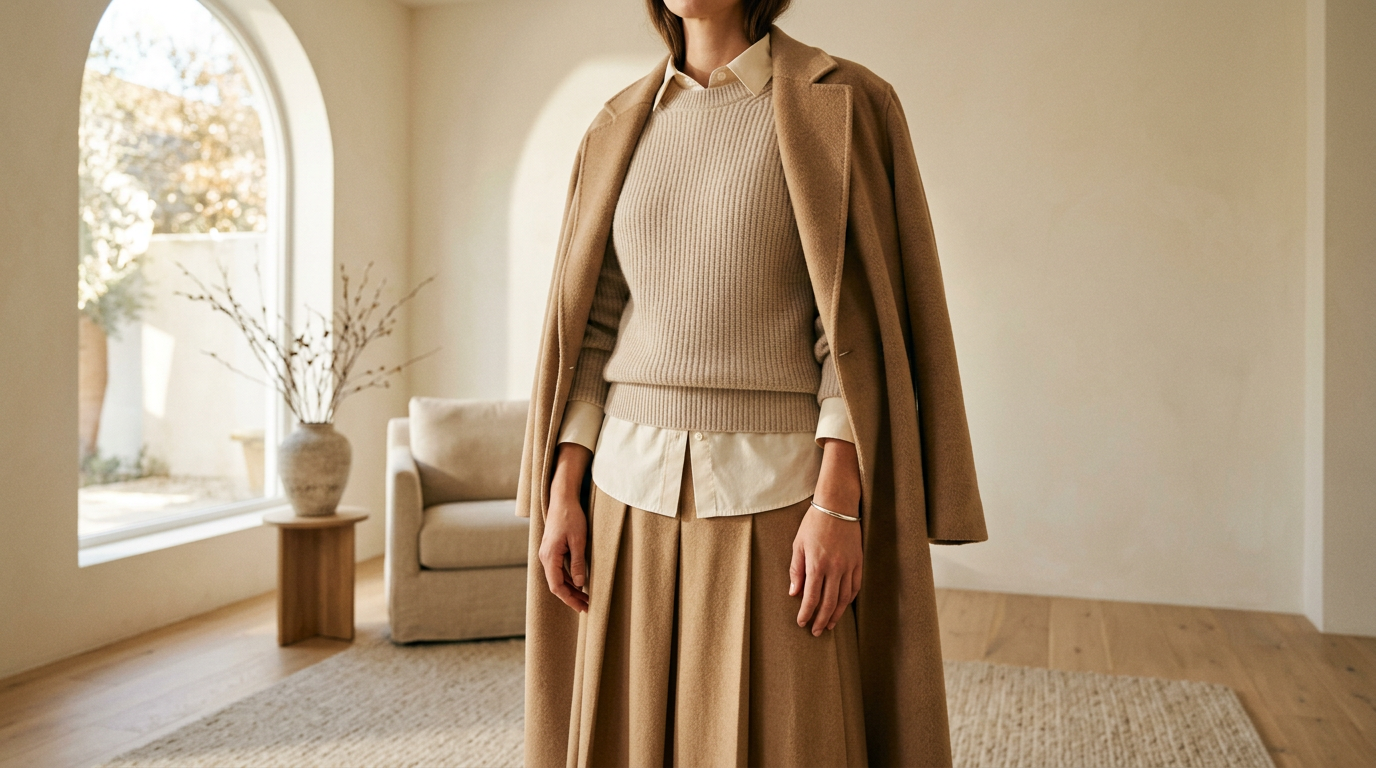
    All-neutral outfits have a reputation problem. Cream, oat, stone, camel: people assume it’s the safe choice, then the mirror pic comes out flat and the fit check says nothing. The palette isn’t the issue. The surfaces are.

    Interesting is the goal

    Let’s retire “looks expensive” as the measure. Rich-looking is a finish line someone else drew. Interesting is better: the outfit makes someone look twice, ask where a piece is from, then notice the second thing.

    When color steps back, the eye goes to other details. How a fabric catches light, how it drapes, how one layer sits against the next. That’s where an all-neutral lewk gets its personality.

    Four finishes, four jobs

    Ribbed knit gives you rhythm. The vertical lines add structure while the stretch keeps it soft, which makes it a good base layer or a fitted top under something looser.

    Crisp poplin is the opposite: matte, smooth, and it holds its shape. A sharp collar or a sleeve that stands slightly away from the body gives knit something to push against.

    Brushed wool is the soft-focus one. The fuzzy surface absorbs light and blurs edges, so a coat, scarf, or trouser in it adds warmth even in the palest shade.

    Leather is the only finish here with real sheen. Even a little, like a belt, a boot, or the strap of a bag, gives the outfit a point of reflection. Soft, matte leather keeps it quiet. A slicker finish makes it a statement.

    Matte, soft, fuzzy, glossy. Each one answers light differently, and that contrast does the work color usually does.

    Tonal layering rules

    Texture needs a little discipline or it turns into a pile. These are the rules worth keeping:

    1. Stay in one temperature. Warm neutrals (cream, oat, camel) go with warm. Cool neutrals (stone, greige, soft gray) go with cool. Mixed undertones read as an accident, not a choice.
    2. Shift the value a step or two. Aim for light, mid, and slightly deeper within the same family. Three near-identical shades blur together.
    3. Give every layer a different finish. Two matching surfaces side by side flatten each other. If the top is ribbed, make what goes over it smooth.
    4. Pair fitted with volume. Texture lands best when there’s shape underneath it. Something close to the body, something with room.
    5. Put the softest texture near your face. A brushed wool scarf or a ribbed collar frames you better than a stiff one.
    6. Squint test. Look at the outfit with your eyes half closed. If it collapses into one shape, swap a finish, not a color.

    One accent, no more

    Once the textures are working, you can add one accent. One. The moment there are two, the outfit stops being edited and starts being decorated.

    Dusty pink works because it’s muted enough to behave like a neutral. Think a soft knit, a scarf, or a flat. Keep it warm-leaning so it sits with the cream and camel instead of fighting them.

    Silver is even easier, because it’s a finish, not a color. A chain, a cuff, a buckle, or a ring catches light the way leather does, so it stays inside the palette while still adding a little shine.

    Either way, keep the accent small, and put it where the eye already travels: near the face, at the wrist, or at the hem. If the accent is the biggest thing in the outfit, it’s no longer an accent.

    A fit check to try

    Start with an oat ribbed knit as the base. Layer an off-white poplin shirt over it, worn open so both surfaces show. Add camel brushed wool trousers, then a leather loafer in a deeper brown. Finish with a single silver cuff.

    It’s one warm family with four finishes, a few steps of value, and one shiny detail. Nothing in it is loud, and it’s still the outfit people ask about.

    The point

    Neutral isn’t the quiet option. It’s the edited one, where every piece has to earn its spot because there’s no color to hide behind. Start with the surfaces, keep the temperature consistent, and let one small thing break the rule. The edit is everything.
  • Transitional Weather Dressing: Layers for When the Forecast Can’t Decide

    Transitional Weather Dressing: Layers for When the Forecast Can’t Decide

    It’s 48 degrees at 8 a.m., sunny and warm by lunch, and windy again by the time you leave. The forecast has not made a decision, so you have to.

    The good news is that between-seasons dressing isn’t about owning more. It’s about knowing what each layer is doing, and choosing fabrics by weight instead of by what the calendar says.

    Start with weight, not season

    Most of us sort clothes into “winter” and “summer” and then panic in the gap. A better sort is light, medium, and heavy.

    Light is anything you can feel the air through: fine cotton, poplin, thin jersey, silky weaves. Medium has some body but still drapes, like a mid-weight merino, a brushed cotton, or a twill. Heavy is what you’d need a real cold snap to justify. For in-between weather, you’re building almost entirely from light and medium, with one piece of each doing a clear job.

    Lightweight outerwear: what to look for

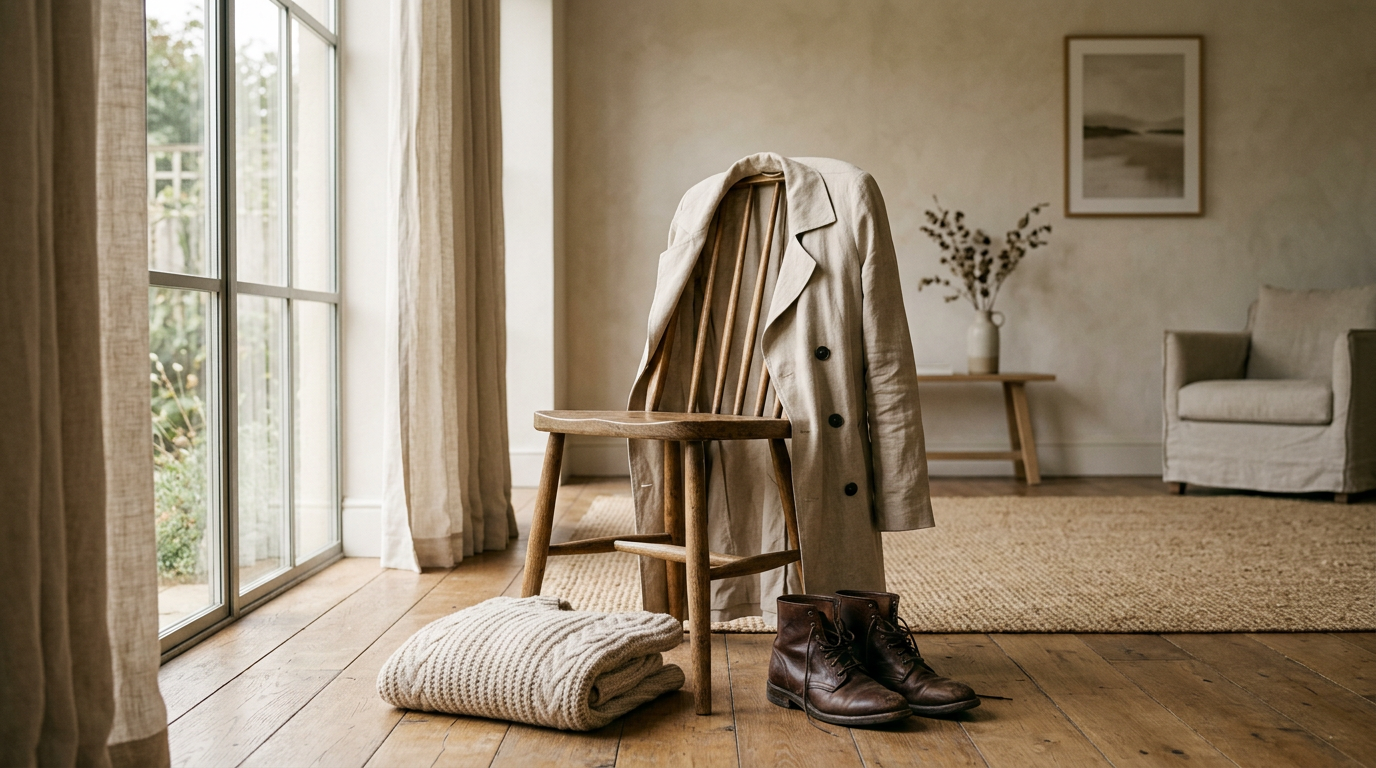
    The in-between coat should block wind and shrug off a drizzle without making you sweat on the train. Look for a tightly woven cotton, a cotton-blend gabardine, or a technical-feeling fabric with a smooth hand. Tight weave is the point. It cuts the wind without adding bulk.

    Pay attention to lining, too. A coat that’s unlined or only half-lined gives you range. Fully lined and padded is a winter coat in disguise.

    On shape, go for something that sits over a knit without straining across the shoulders. Try it on with your thickest sweater and your thinnest tee. If it works with both, it earns its place.

    The knit that works under and over

    This is the hardest-working piece in the whole system. You want a fine- to mid-gauge knit in a fiber that breathes. Merino and cotton blends are both good here, and cashmere blends work if that’s your budget. It should be soft enough to wear against skin and structured enough to sit on top of a collared shirt.

    A few things make a knit flexible:

    • A neckline that plays both roles. A crew or a slim V works under a shirt and alone. A chunky turtleneck only works one way.
    • A hem that doesn’t bunch. If it rides up under a coat, you’ll be tugging at it all day.
    • A neutral that pairs with everything else you own. Oatmeal, charcoal, soft gray, and cream all disappear into other outfits, which is what you want.

    Wear it under a blazer or open shirt for the cold start. Tie it around your shoulders or drape it over a bag when the sun comes out. Same knit, three different lewks.

    The rule of one removable layer

    Here’s the whole system in a sentence: every outfit gets exactly one layer you can take off and carry without it becoming a problem.

    One, not three. Three removable layers means you’re hauling a second outfit around, and your tote starts to look like a gym bag. One means you’re prepared without looking like you hedged.

    The removable layer should be the lightest thing that still does something. A jacket that folds over your arm, a cardigan that slides into a bag, an overshirt you can knot at the waist. Everything else in the outfit should look finished without it.

    Quick test before you leave: take the layer off in the mirror. If the outfit still looks intentional, you’re set. If it suddenly looks like you forgot something, rethink the base.

    Three formulas to adapt

    These are templates, not prescriptions. Swap in whatever you own that matches the weight and the job.

    1. The Clean Base. Light tee or fine-knit tank, straight-leg trousers in a mid-weight fabric, a lightweight coat as your removable layer. Finish with a flat or low boot. This is the one for days that start cold and end mild, and the coat comes off without a single styling decision.
    2. The Knit Sandwich. Poplin shirt, then your versatile knit over it, then a shorter, lighter jacket on top. The knit is the middle layer, so it’s what you keep when the jacket goes. Pair with a midi skirt or relaxed denim. Roll the shirt cuffs over the knit sleeves for a bit of texture.
    3. The One-and-Done Dress. A mid-weight dress in a fabric with some drape, a fine knit worn open over it, and a scarf in a light weave as your removable piece. Add tights or bare legs depending on the day. The scarf handles the temperature swing around your neck, which is where you feel it most.

    A few finishing notes

    Shoes matter more than you’d think. In between seasons, you want something that handles a wet sidewalk and a warm afternoon. Leather boots with a clean sole or a structured loafer do both.

    Keep your palette tight. When you’re layering, three colors that already like each other will always look more deliberate than five you’re hoping will work. Do a quick fit check in natural light before you head out, because layered outfits can look different by a window than they do under a bathroom bulb.

    And remember the point of The Edit: fewer pieces, chosen well, worn hard. A light coat, a knit that moves between roles, and one layer you can lose. That’s most of the problem solved, and the forecast can do whatever it wants.

  • From Screenshot to Shopping List: Turning Your Inspo Folder Into Outfits You Can Actually Wear

    From Screenshot to Shopping List: Turning Your Inspo Folder Into Outfits You Can Actually Wear

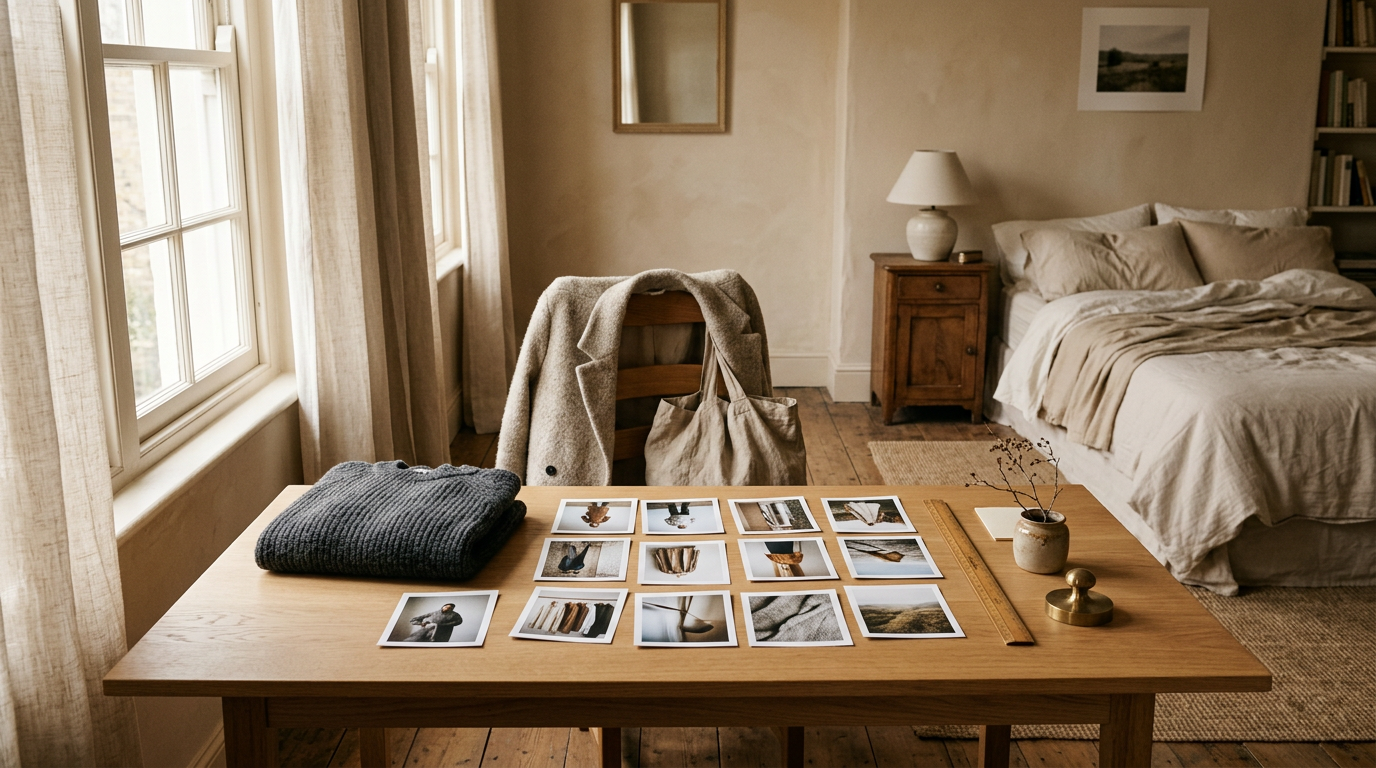
    You save aggressively. You buy selectively. Somewhere between those two habits is a folder with hundreds of screenshots and a closet that still feels like it’s missing something.

    The folder isn’t the problem. It’s data. Most of us just scroll it for vibes instead of reading it for information. Here’s how to read it.

    Scroll it like someone else made it

    Set aside twenty minutes. Open the folder and go through it fast, without zooming in on any single image. You’re not choosing outfits yet. You’re noticing what your thumb keeps stopping on.

    Fast scrolling helps because your taste shows up in repetition, not in any one save. The one-off screenshot from a trip you took is a mood. The fourteenth image of a long coat over a slip skirt is a pattern.

    Tally what repeats

    Grab a notes app or an actual piece of paper. As you scroll, make a mark every time one of these shows up:

    • Silhouette: Is the top boxy and the bottom narrow? Long and lean all the way down? Oversized on top, fitted below?
    • Color: Name the actual shades. “Neutral” is too vague. Think oatmeal, chocolate, charcoal, ivory, a certain washed-out blue.
    • Layering move: A collared shirt under knitwear. A slim tee under a slip dress. A belted coat over everything. A cropped jacket over something longer.
    • Texture: Brushed wool, crisp poplin, fine-gauge knit, leather that’s gone soft.
    • Proportion of the hem: Where does the outfit end? Ankle, mid-calf, hip, waist?

    Don’t overthink the counting. When you’re done, three or four things will have a lot more marks than the rest. Those are your real inspo, and everything else is background noise.

    Separate “I love this on her” from “I’d wear this”

    This is the step that saves your budget. A lot of what we save is admiration, not intention. Admiration is valid, but it doesn’t belong on a shopping list.

    Take your top repeating patterns and run each one through a few honest questions:

    Would I wear this on a regular Tuesday? Not at the best event of the year. On a normal day, with your commute, your bag, and your actual plans.

    Is it the outfit or the person? Sometimes the pull is the styling, the lighting, the setting, or the way she’s standing. If you take away the backdrop, do you still want the clothes?

    Do I already reach for something like it? If a silhouette shows up in your folder and also in your closet, you’re not missing it. You’re just not wearing it the way the screenshot does.

    Be ruthless here. Plenty of saves will turn out to be “love this on her,” and that’s fine. Leave them in the folder. They can stay inspo forever.

    Do a quick fit check on what you own

    Before you write anything down, pull up your closet next to your tally. Match what you already have to each pattern. If you keep saving a slim-over-oversized proportion, find the pieces you own that could do it.

    Often the gap isn’t a whole outfit. It’s one layer: the right third piece, a better-fitting trouser, or a color that ties two things together. That’s a much smaller (and more interesting) shopping problem than “I need a new wardrobe.”

    Write the gaps like a brief

    Now the list. Keep it to three to five items, and make each one specific enough that you’d recognize it in a heartbeat and ignore everything else.

    Compare these:

    “A jacket.” That’s a browsing session with no end.

    “A cropped, structured jacket in charcoal or black that sits at the waistband and works over a long skirt.” That’s a brief.

    A good gap has a silhouette, a color, a job, and ideally a fabric. Add one more line to each item: what three things I own it works with. If you can’t name three, it’s probably a one-outfit piece, and it moves to the bottom.

    Let the list slow you down

    The point of the list is not to buy five things this week. It’s to make the next purchase a decision instead of a reaction. When something catches your eye, you check it against the brief. If it fits, great. If it doesn’t, you save it and move on without the cart guilt.

    Saving is free, so keep doing it. Buying is where the edit happens.

    Audit again when the folder changes

    Your taste isn’t static, and your folder will show it. Run this audit at the start of each season, or any time you notice you’ve stopped opening the folder because it feels like noise. New patterns will show up. Old ones will fade. Both are useful.

    When you’re ready to turn a gap into an outfit, Enter The Edit. Bring your list. The edit is everything.