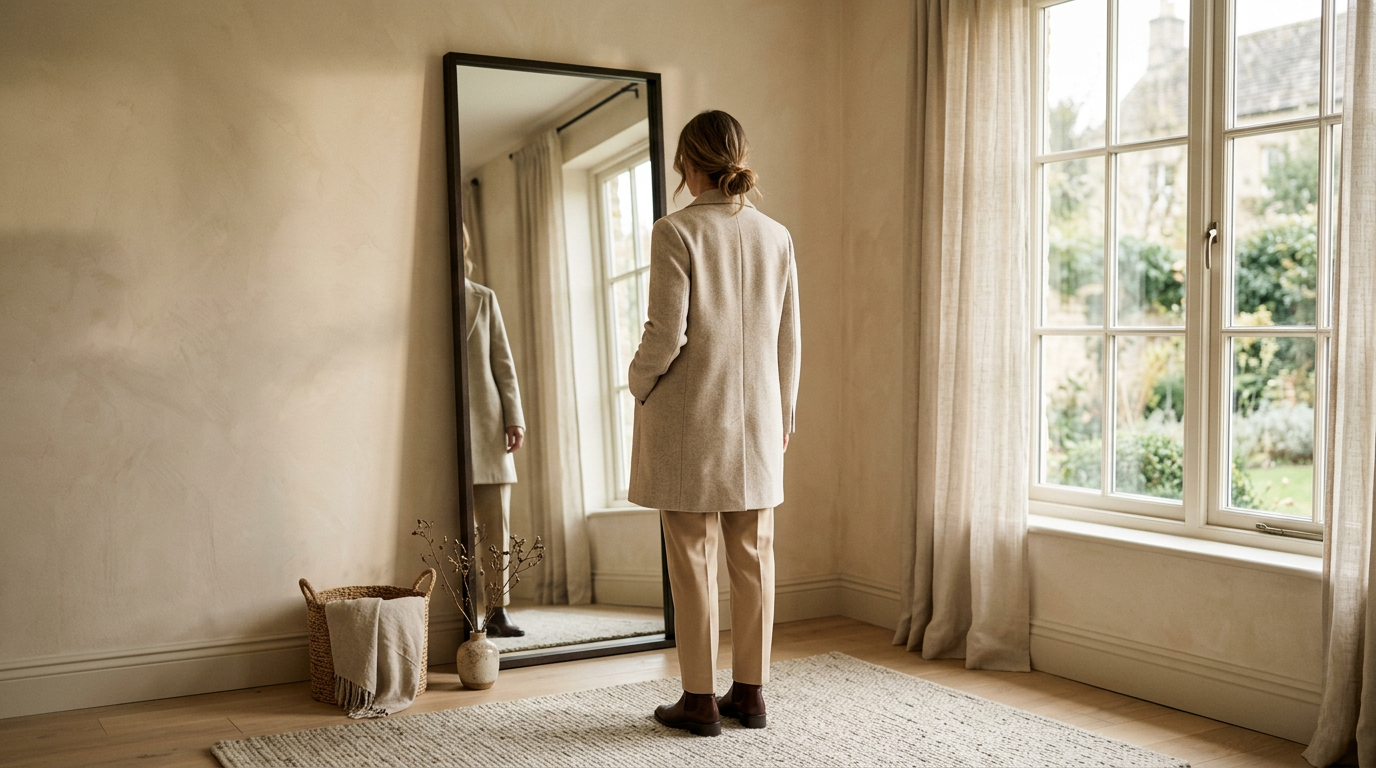
The GRWM is done. The outfit is on, the playlist is going, and you’re already a little late. This is the moment most people glance at their face, grab their keys, and go.
Don’t. Give the mirror ninety more seconds. A proper fit check isn’t about fixing a bad outfit. It’s about catching the small stuff that turns a good outfit into one that looks intentional.
Here’s the routine, in order.
1. Start at the shoulders
Look at where the shoulder seam lands. On a jacket, shirt, or knit with a set-in sleeve, it should sit right at the edge of your shoulder, where the arm begins.
If it creeps toward your elbow, the piece reads as oversized. That’s great when you chose it and sloppy when you didn’t. The tell is whether the rest of the outfit agrees: a drop shoulder with a clean, narrow bottom half looks planned. A drop shoulder you didn’t mean to have just looks borrowed.
If the seam sits up on top of your shoulder and pulls, the piece is too small through the frame. No styling trick fixes that.
2. Check the hem
Hems are where outfits quietly fall apart. Look at every one you have: trousers, skirt, dress, jacket, even the shirt under your sweater.
For trousers, decide what the hem is doing. Cropped should clearly show the ankle, not hover awkwardly an inch above it. Full length should skim the top of your shoe, not drag under your heel. For skirts and dresses, check the length sitting down too, since that’s where most of your day happens.
And look at the layers. A shirt hem peeking out from under a sweater is a lewk when it’s a few even inches. It’s a mistake when it’s lopsided.
3. Walk, sit, reach
Standing still in front of a mirror is the easiest test an outfit will ever take. So give it a harder one.
Walk across the room and watch how the fabric moves. Good fabric swings and settles. Bad fabric clings, bunches, or rides up. Sit down and see what your waistband, hem, and neckline do. Lift your arms like you’re reaching for something on a high shelf and check whether the whole top comes with them.
Also check the light. Step near a window and see if anything is more see-through than it looked under your bedroom lamp.
4. Turn around
You spend the whole day facing forward, but everyone else gets the back view. Use a second mirror or your phone camera and look at what’s behind you.
You’re checking for pulling across the shoulder blades, a waistband that gapes, a bra line you didn’t plan on showing, a tag or loose thread, and pockets that sit too low or too wide. If the outfit only works from the front, it only half works.
5. Look down at your shoes
Proportion is the whole game here. Wide-leg trousers want a shoe with some presence, or the hem swallows your foot. A slim trouser can take something sleeker. A chunky sole under a delicate, floaty skirt can feel like two different outfits arguing.
Step back far enough to see your whole body and ask whether your shoes look like they belong to the rest of the fit. Then check your socks, if they’re showing. They count.
6. Take one thing off
This is the step that makes the edit an edit. Before you walk out, find the loudest thing you’re wearing and remove it.
Maybe it’s the third necklace, the extra belt, or the scarf you added at the last second because the outfit felt unfinished. Usually the outfit was already finished. If you take it off and miss it, put it back. But most of the time you won’t.
How to take a fit check photo that tells the truth
A photo shows you what a stranger sees, which is why it catches things the mirror forgives. It’s also very easy to make a photo lie, so keep it honest.
Face a window for soft, even light. Overhead bulbs and a lamp behind you flatten fabric and hide texture. Put the phone at about hip to chest height, not above your head, and step back far enough that your shoes are in the frame. Cropping at the knee hides the exact proportion you’re trying to check.
Skip portrait mode, beauty filters, and anything that stretches or smooths. Wipe the mirror if you’re using one. Then take three shots: front, back, and one mid-stride. The mid-stride shot is the most useful, because it shows how the outfit behaves when you’re actually moving.
Look at the photo before you post it, or before you decide. If something bugs you in the picture, it will bug you at dinner.
The screenshot version
- Shoulders: does the seam land where you meant it to?
- Hems: are trousers, skirt, and layers all clearly one length or the other?
- Movement: walk, sit, reach. Does the fabric cooperate?
- Back view: any pulling, gaping, or stray tags?
- Shoes: do they match the weight of the hem?
- Remove one thing: take off the loudest piece, then decide.
That’s the whole routine. Once it’s habit, it takes less time than finding your keys. The edit is everything, and it starts at the mirror.